Send a shout out!

Hey TG shout out to welcome Sophia the new junior writer congrats! But I miss Avani and Bailey they were cool big fan of urs you slay the day bye love ur BIGGEST FAN EVA - ❤️❤️❤️❤️Sophia - Sophia h Hi Total Girl magazine. I love your work and shoutout Sam and Theo - Thea :) ps add more dti content! - Thea Could I pretty please win something because last time I didn’t 😢😍 - Ivana HI TG! I just wanna say, THANK YOU SO MUCH FOR MAKING ME WIN TH SNOW WHITE PACK! LOVE YOUR MAGS!🥰 - ????Liara G???? Hi guys would it be possible to add shorts of youtube dances please - Helena please put in more Taylor Swift posters - olive Hi TG I really hope I win the next competition for the kobo my birthday is the 24th of June and I cannot wait for the next mag byeeeeeeeeeeeeeeee - Molly I love stich - Mawa Hey TG!! I have just entered some comps and am super pumped to see who wins, even if I don't! - Alyssa C shout out to all fans out there!!! - THERESA
DIY knot bracelets!

DIY knot bracelets!

Learn how to make Laura's fave DIY friendship bracelets with this step-by-step guide!

Hey TGs!

OK so just putting it out there: I am utterly OBSESSED with making friendship bracelets. They are so much fun to make and are so preeeetty! *Heart eyes emoji*

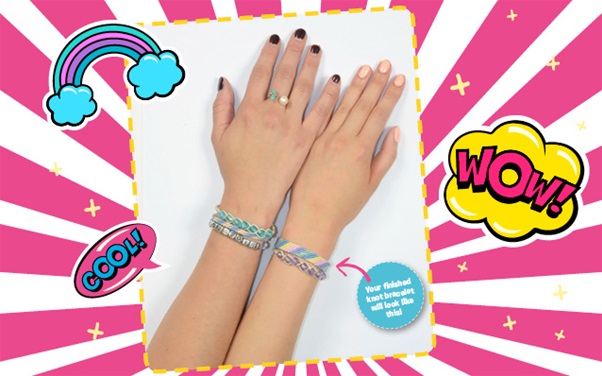
So anyway, our Totally Squee issue hit the stands today! Yaaass! But you totes already knew that, right? Hehe. If you’ve already had a chance to pick up a copy and flip through the pages, our super cute friendship bracelet tutorial may have caught your keen eye. If you want to learn how to make the adorbs knot bracelets, which are featured on the page 53, grab your bestie and follow the instructions below.

Happy crafting, TGs!

Xo Laura

P.S. Knot bracelets are quite tricky to master, so be patient while you’re learning. Practice makes perfect!
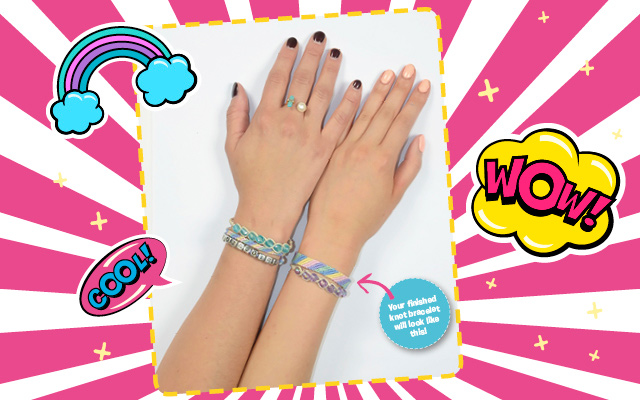
Laura-Blog-FriendshipBracelets


What you need:

* Cotton thread in various colours cut into equal lengths (50cm), 4-10 strands

What to do:

  1. Knot strands together at the end and secure it to the edge of a hard surface (a table works great) using tape – ask the Mum and Dad first!
  2. Hold your first colour on the far left and take the colour beside it and form a ‘4’ with the strands, tuck colour one under colour two and form a knot, do this twice.
  3. Colour one has now moved one space to the right. Repeat step 2 with colour one and the next colour beside it.
  4. Keep going as colour one travels over to the right, until you have a complete row of that colour. Yay!
  5. Your next furthest colour at left is colour two. Repeat steps 2-4 to complete another row.
  6. Keep going! Repeat with all your colours to form a colour sequence you like.
  7. Finish with a plait, or tie off to secure.
TG HQ

This blog is where Team TG share their thoughts on the latest movies, TV shows, books, games, glam trends, events and more.

Check out what Rosie, Sandra, Aaron and Bek have to say, and get a glimpse behind the scenes of TG HQ. We also love chatting to you!

Meet the team here and ask us a question (you might get featured in the mag).

Read more from TG HQ

Comment Now!

TG Poll
Would you rather be chased by...
100 duck-sized horses?
one horse-sized duck?