This easy DIY Halloween mask doesn't have to be scary - it can be colourful, girly or funny! Celebrate Halloween however you want!
What you need:
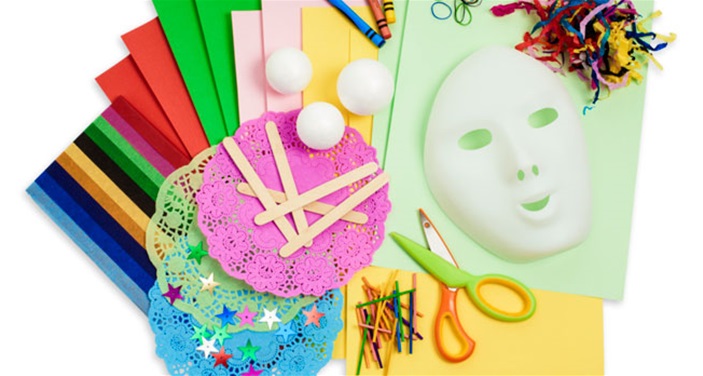
- A plain mask. You can buy these at your local craft shop or Spotlight in loads of different shapes and sizes.
- Colourful paper, glitter, doilies, textas, even coloured tin foil - you can get really creative with unexpected mask materials!
- Craft glue.
- A piece of white paper and coloured pencils.
What to do:
- Sketch out a few ideas on your piece of paper. This is an important step - you don't want to get halfway through your mask and not like what you've done!
Here's a few ideas from TGHQ:
- Animal. Try a cat, dog, tiger, koala
- Multicolour Madness. Try dividing the mask into quarters and covering each quarter with a different colour.
- Starlight. Try a dark blue background with tinsel, glitter or tinfoil stars.
- Black & White. Try black spots on a white background, like a Dalmation!
- Prep your materials. Trace the shapes you want onto your coloured paper and cut them out carefully. Pour the exact amount of glitter you need into a little container (maybe ask for your 'rent's help), etc.
- Carefully apply glue to the back of your materials e.g. paper, ribbons, doilies. Usually you only need a few dots! Glitter is the exception here - apply a touch of glue to the mask and sprinkle the glitter on!
- Apply your materials to the mask, pressing them carefully into place.
- Leave your mask to dry. Usually it will say how long on the back of the glue bottle, but to be safe overnight is usually long enough.
- Ta da! Or should we say, "Boo!"


Comments:
1